These instructions outline the general procedure for cold bonding rubber to steel using a two-part cold bonding rubber adhesive system.
This method is suitable for wear protection linings, rubber sheets, and rubber backed components bonded to steel substrates.
Important Notes Before Starting
- All surfaces must be clean, dry, and free of contamination
- Minimum working temperature: 10 °C
- Materials should be close to room temperature
- All listed times are based on working at room temperature 20 – 25 °C
- Do not bond in wet, damp, or condensation-prone conditions
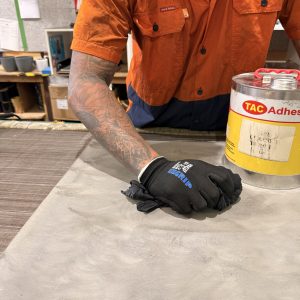
- Always follow relevant SDS and site safety requirements
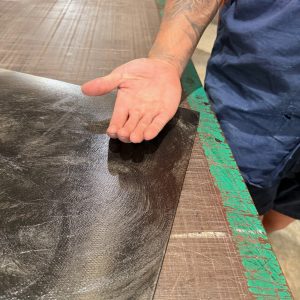
RUBBER SURFACE IDENTIFICATION
There are two common rubber bonding surfaces. Identify which applies before proceeding.
CN Bonding Layer
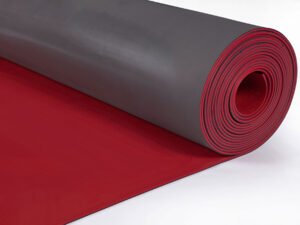
Some Reglin rubber products are supplied with a CN bonding layer ready for bonding.
A CN bonding layer is a semi-cured neoprene-based bonding surface applied to one side of the product during manufacture.
This CN layer is designed to provide a ready-to-bond surface and acts as a chemical bridge between the rubber compound and the adhesive system.
SURFACE PREPARATION
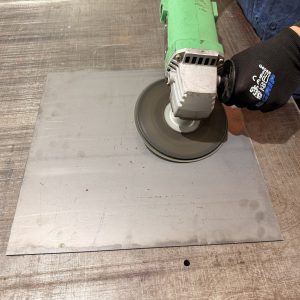
Step 1 – Steel Surface Preparation
Roughen the steel surface by: Grit blasting to a minimum 50-75 micron angular profile to a minimum cleanliness AS 1627.4 Class 2 ½
Alternatively, roughen with an angle grinder with coarse abrasive resin disk (Grit size 16-24) Ideally Variable speed grinder 800 – 2000 RPM. Target a rough, clean profile for mechanical adhesion
Remove all dust dry (do not wash with water)
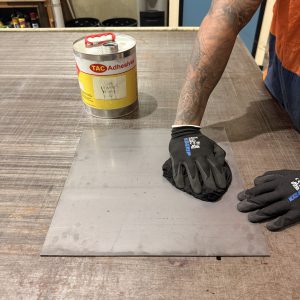
Clean steel surface with suitable cleaning solvent, such as TAC 101 Cleaning Solvent and allow to dry
Note: Steel should be primed as soon as possible after preparation to prevent flash rusting or contamination.
Step 2 – Apply Metal Primer to steel surface
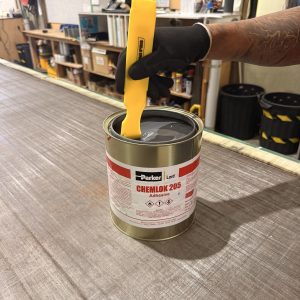
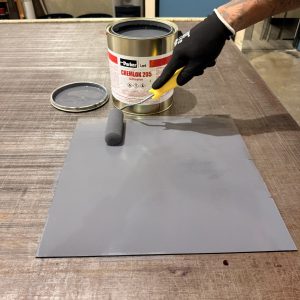
Thoroughly stir the metal primer making sure any sediment in the bottom of the tin is properly dispersed into the liquid
Reglin stock Conti-Plus Metal Primer in 0.7kg tins for small jobs or Chemlok 205 Metal Primer in 4L and 20L drums for larger applications
Apply one thin, even coat to the prepared steel using a brush or foam roller or in accordance with manufacturer instructions. Avoid runs, puddles, or bare patches
Allow to fully dry in accordance with manufacturer instructions. Typically, a minimum of 2 hours but ideally 8 hours at ambient temperatures
Once dry, protect primed steel from dust, moisture, and handling
Step 3 – Rubber Surface Preparation
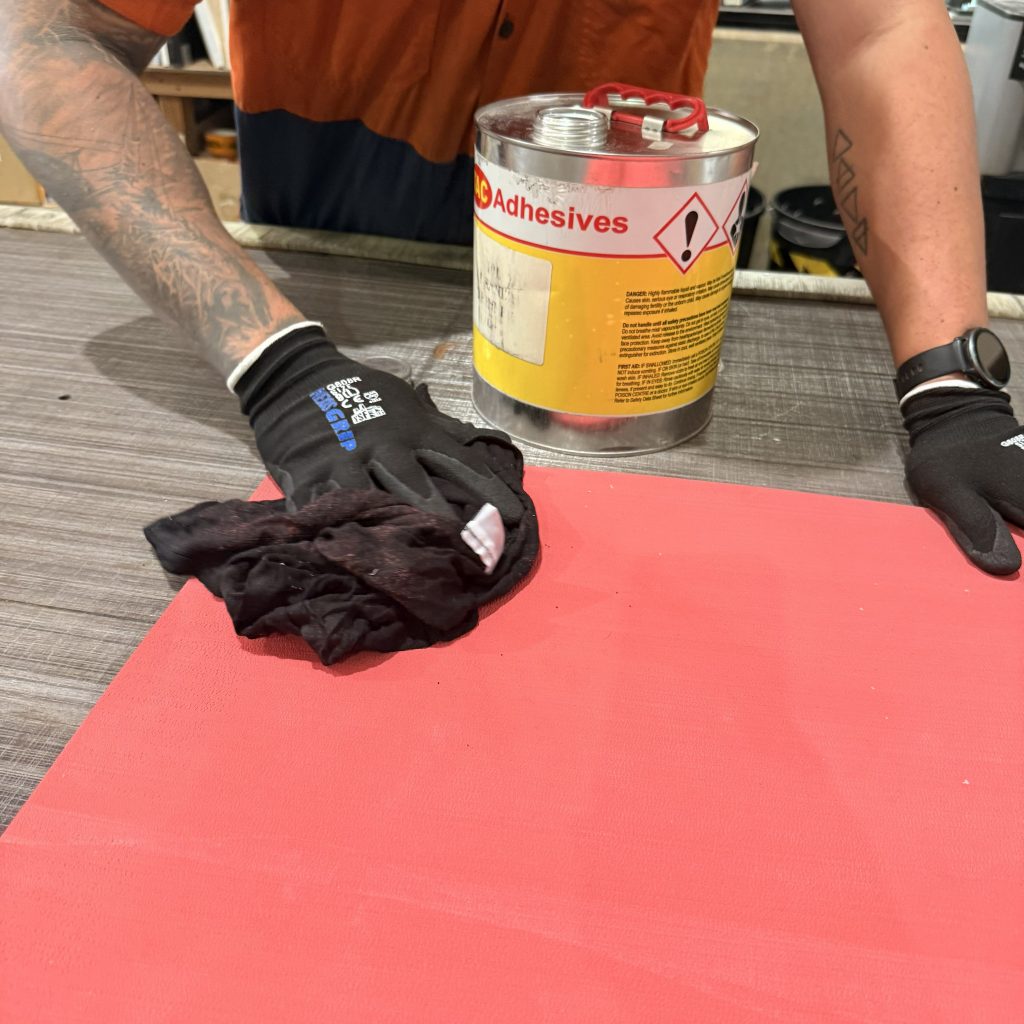
If fresh and clean: Wash the bonding layer surface using a suitable cleaning solvent and allow to fully evaporate
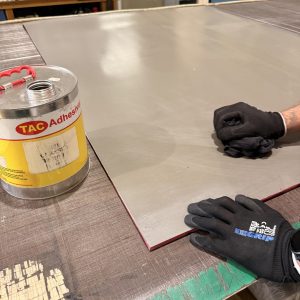
If dry, aged, or there is any risk of being contaminated: Lightly buff the surface
Remove dust and wash the surface using a suitable cleaning solvent and allow to fully evaporate

BONDING
Step 4 – Adhesive Preparation
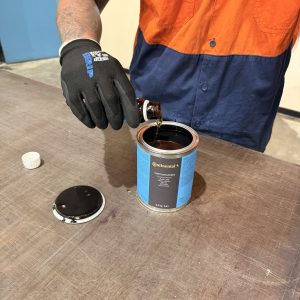
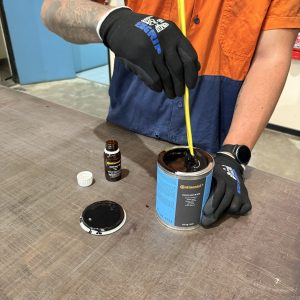
Mix the two-part cold bonding adhesive according to manufacture instructions
Reglin stock Conti-Secur BFA Cold Bonding Adhesive in 0.7kg tins for small jobs or TAC 250 Cold Bonding Adhesive in 20L drums for larger applications.
Stir thoroughly, ensuring all settled solids are fully mixed (Stir again before use if the adhesive sits idle)
Note: Mixed adhesive has a limited working life. Only mix what can be used within this time
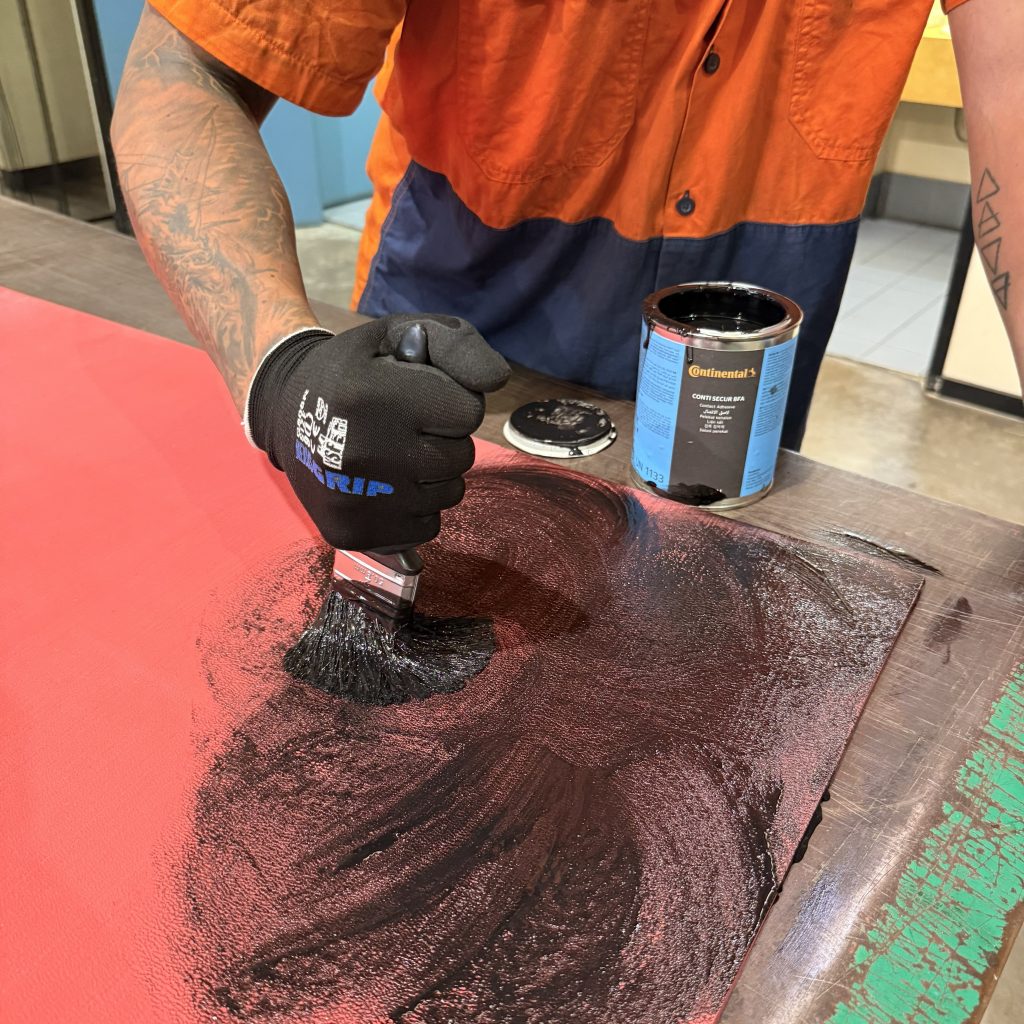
Step 5 – Adhesive Application
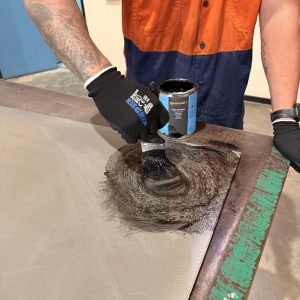
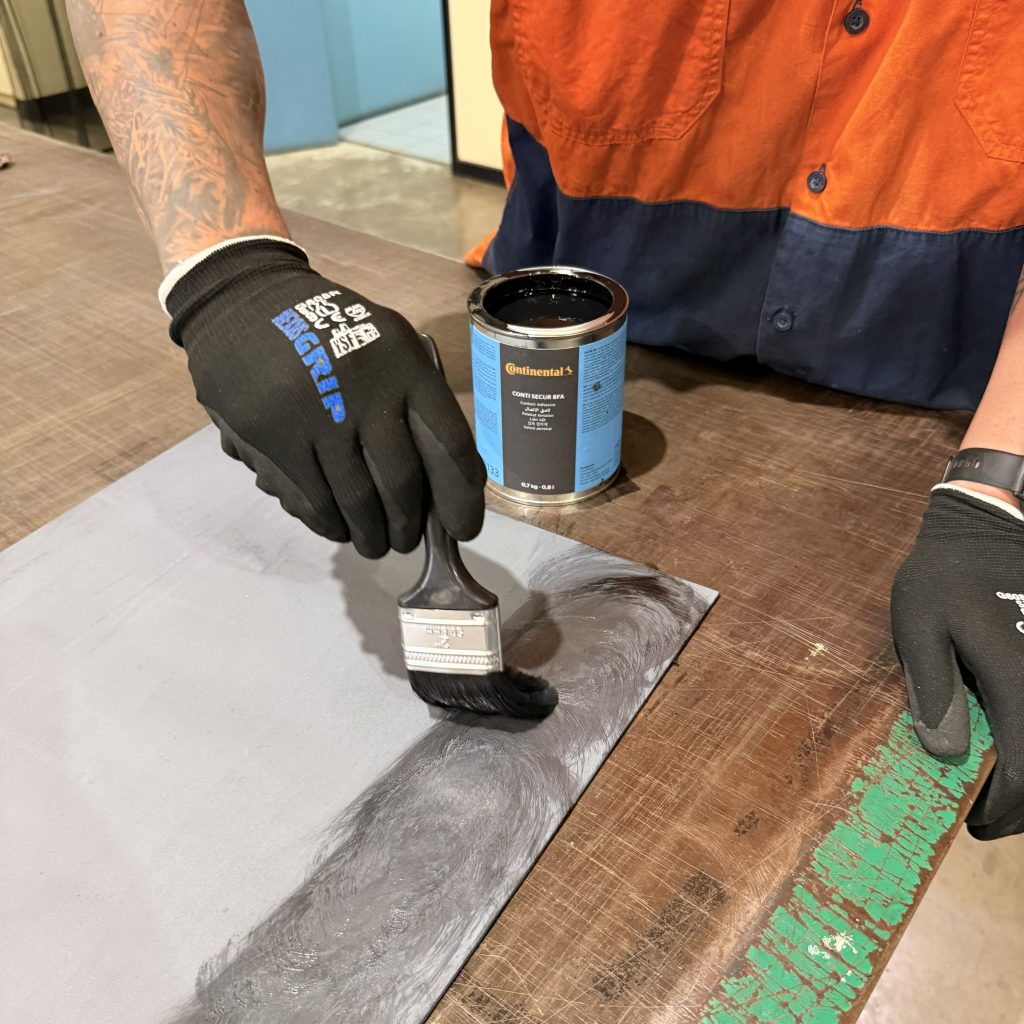
Apply a first coat of adhesive to the primed steel surface and allow to fully dry: (Minimum 30 mins, but 60 mins recommended)
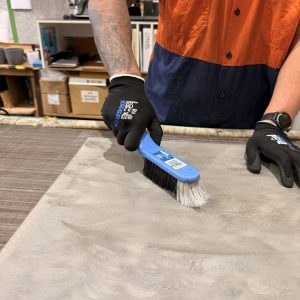
Note: The adhesive must be brushed into the steel in a scrubbing action to penetrate the roughness of the surfaces
Then apply a first coat of adhesive to the CN bonding layer surface
And at the same time apply a second coat of adhesive to the steel surface
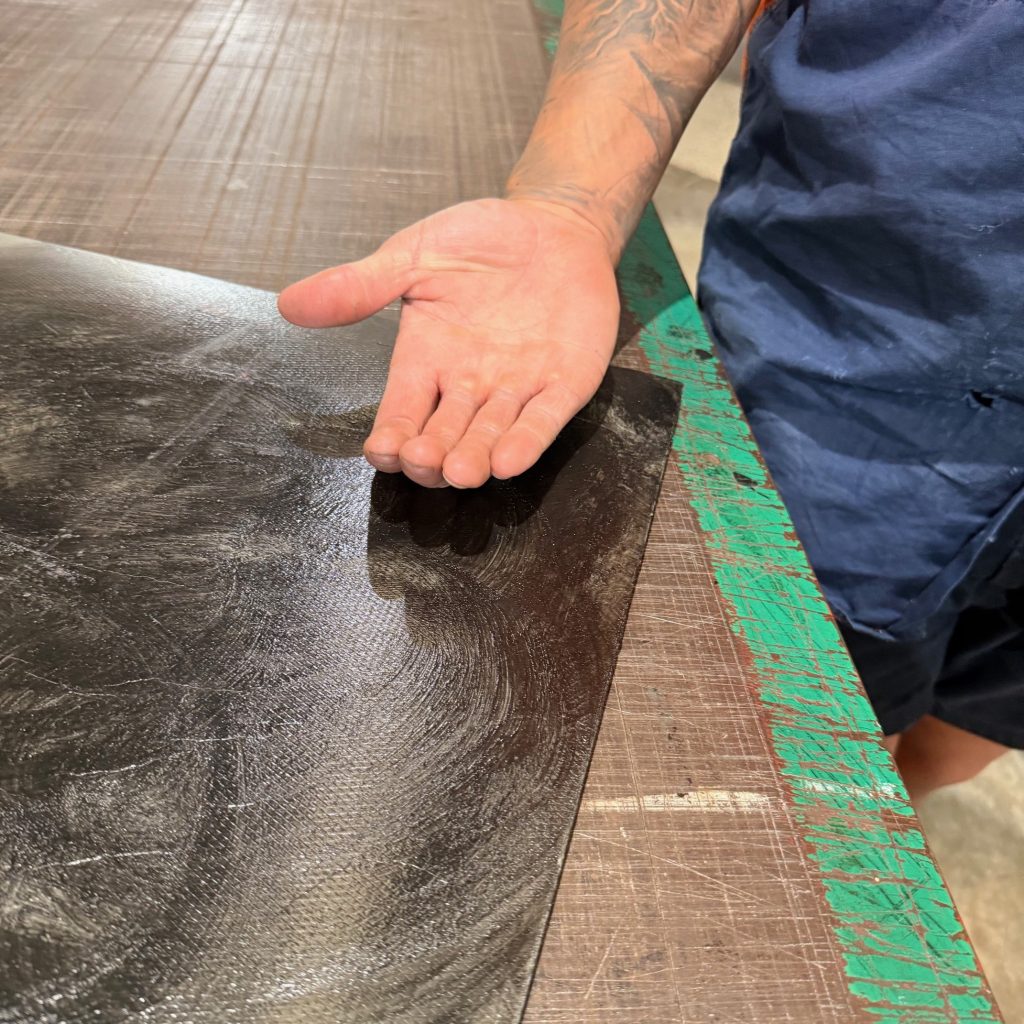
Wait for both surfaces to go tacky (maximum 10 mins)
Note: To confirm surfaces are tacky and ready to bond you need to perform a touch test: Touch the surface with the back of your hand. The adhesive should feel sticky but should not transfer to the back of your hand.

APPLICATION
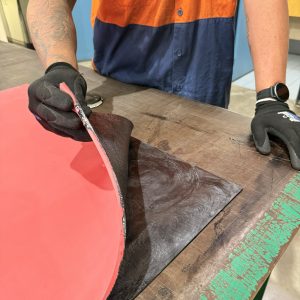
Step 7 – Application of rubber
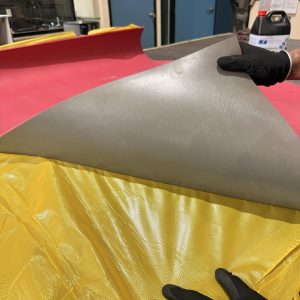
Carefully position the rubber onto the steel
Once contact is made, do not reposition
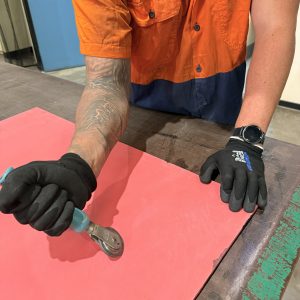
Apply pressure using hand roller, stitcher or dead-blow hammer: Level of pressure should be firm but will depend on rubber thickness and properties being bonded
Note: Always work from the centre outwards to remove trapped air
Buffed Rubber Surface
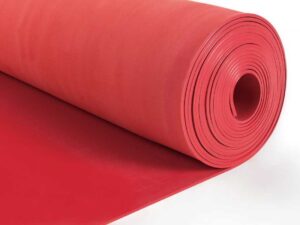
Some Reglin products are supplied with a pre-buffed roughened finish ready for bonding.
If the rubber has a smooth finish, it must be roughened before bonding. This can be achieved with an angle grinder with coarse abrasive resin disk (Grit size 16-24)
Ideally using a Variable speed grinder operating at 800 – 2000 RPM.
SURFACE PREPARATION
Step 1 – Steel Surface Preparation
Roughen the steel surface by: Grit blasting to a minimum 50-75 micron angular profile to a minimum cleanliness AS 1627.4 Class 2 ½
Alternatively, roughen with an angle grinder with coarse abrasive resin disk (Grit size 16-24) Ideally Variable speed grinder 800 – 2000 RPM. Target a rough, clean profile for mechanical adhesion
Remove all dust dry (do not wash with water)
Clean steel surface with suitable cleaning solvent, such as TAC 101 Cleaning Solvent and allow to dry
Note: Steel should be primed as soon as possible after preparation to prevent flash rusting or contamination.
Step 2 – Apply Metal Primer to steel surface
Thoroughly stir the metal primer making sure any sediment in the bottom of the tin is properly dispersed into the liquid
Reglin stock Conti-Plus Metal Primer in 0.7kg tins for small jobs or Chemlok 205 Metal Primer in 4L and 20L drums for larger applications
Apply one thin, even coat to the prepared steel using a brush or foam roller or in accordance with manufacturer instructions Avoid runs, puddles, or bare patches
Allow to fully dry in accordance with manufacturer instructions. Typically, a minimum of 2 hours but ideally 8 hours at ambient temperatures
Once dry, protect primed steel from dust, moisture, and handling
Step 3 – Rubber Surface Preparation
Ensure buffed rubber surface is roughened to an acceptable level
Wash the surface using a suitable cleaning solvent and allow to fully evaporate
Natural Rubber Bonding: Natural rubber is not very compatible with synthetic rubber adhesives. To make the Natural rubber compatible the buffed bonding surface must be chlorinated using a rubber primer
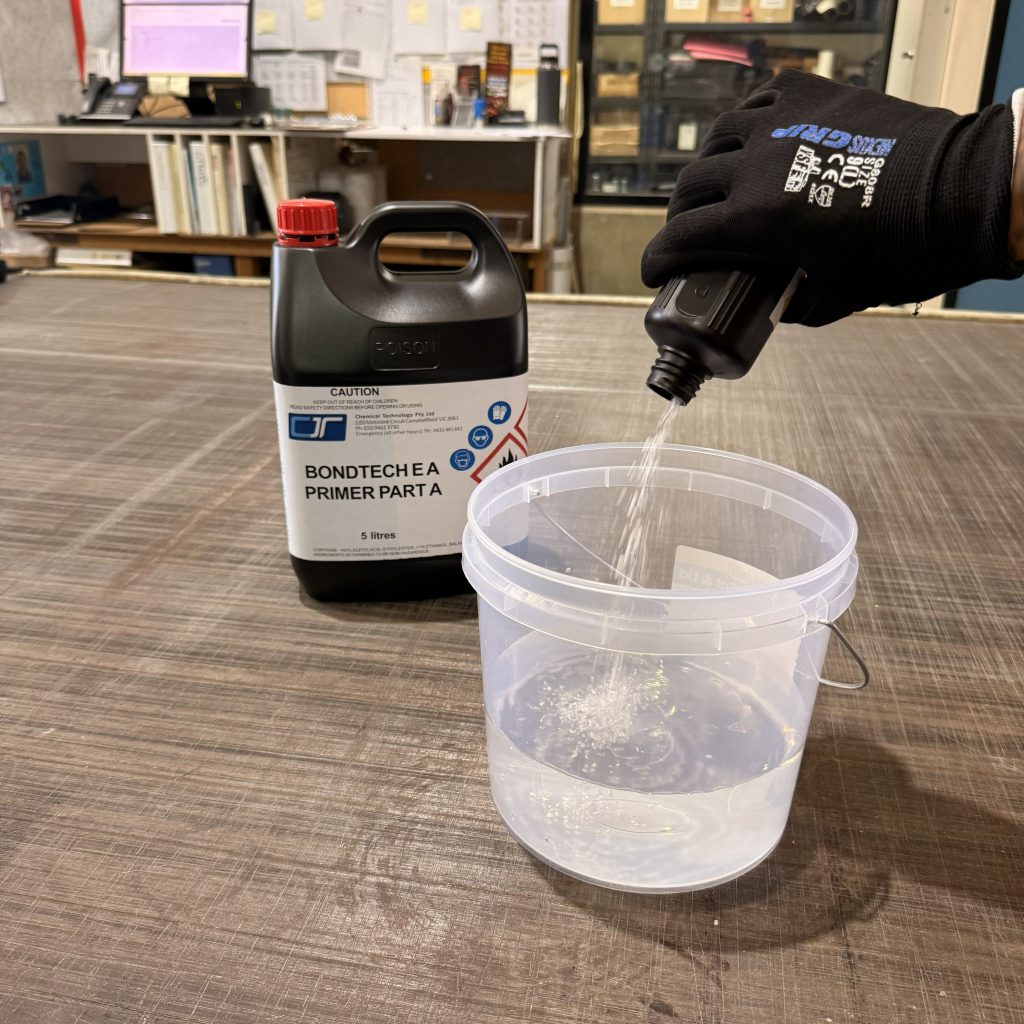
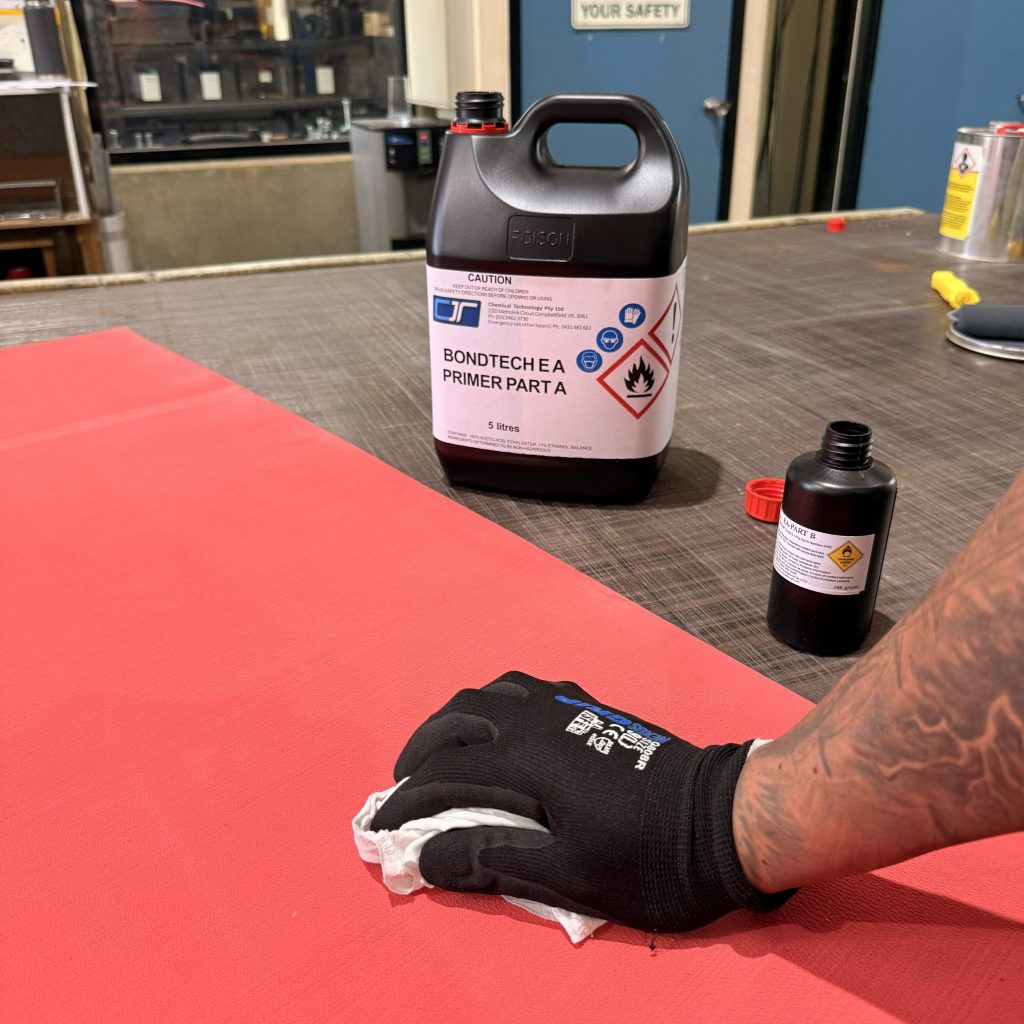
Apply Rubber Primer, such as Bondtech EA Rubber Primer to rubber surface
Mix Parts A and B of Rubber primer in accordance with manufacturer instructions
Thoroughly wipe the buffed bonding surface with rubber primer
BONDING
Step 4 – Adhesive Preparation
Mix the two-part cold bonding adhesive according to manufacture instructions
Reglin stock Conti-Secur BFA Cold Bonding Adhesive in 0.7kg tins for small jobs or TAC 250 Cold Bonding Adhesive in 20L drums for larger applications
Stir thoroughly, ensuring all settled solids are fully mixed
Stir again before use if the adhesive sits idle
Note: Mixed adhesive has a limited working life. Only mix what can be used within this time
Step 5 – Adhesive Application
Apply a first coat of adhesive to both the primed steel surface and the prepared rubber surface
The adhesive must be brushed into the steel and rubber in a scrubbing action to penetrate the roughness of the surfaces
Allow to fully dry: (Minimum 30 mins, but 60 mins recommended)
Apply a second coat of adhesive to both surfaces again
Perform a touch test: Adhesive should feel tacky but should not transfer to the back of your hand (maximum 10 mins)
APPLICATION
Step 7 – Application of rubber
Carefully position the rubber onto the steel
Once contact is made, do not reposition
Apply pressure using hand roller, stitcher or dead-blow hammer: Level of pressure should be firm but will depend on rubber thickness and properties being bonded
Note: Always work from the centre outwards to remove trapped air